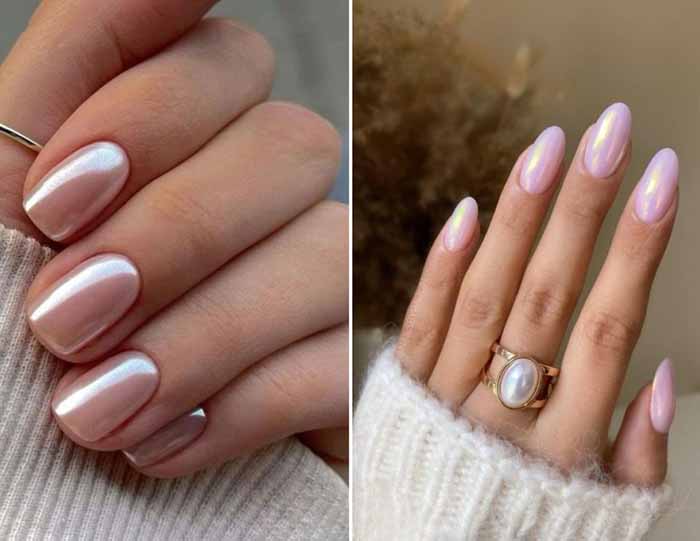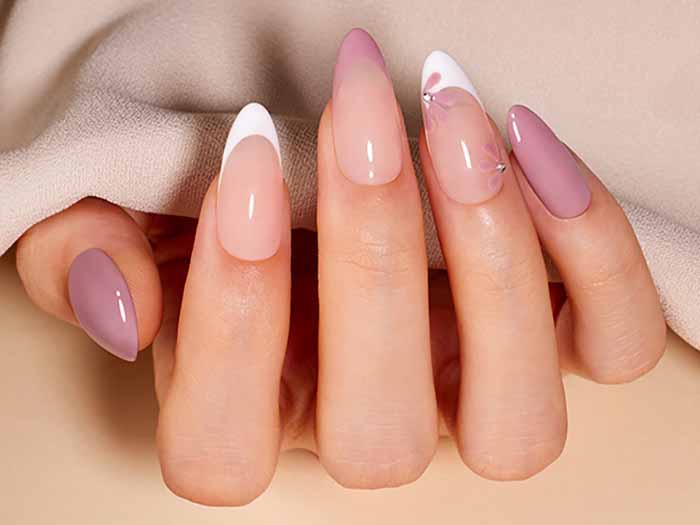
A professional-quality manicure is not solely dependent on the quality of the polish. It is a meticulous process that demands the correct tools, a thorough understanding of nail anatomy, and a disciplined technique. The difference between an amateur attempt and a salon finish lies in the preparation and the precise use of essential manicure supplies. This guide provides a detailed, step-by-step approach to achieving a flawless manicure using professional methods.
The Preliminary Stage: Assessment and Preparation
Before any product is applied, a comprehensive assessment of the nail condition is essential. Begin by removing any existing polish with an acetone-free remover to prevent excessive drying of the natural nail plate. Cotton pads are preferred over cotton balls as they are less likely to leave fibres on the nail surface.
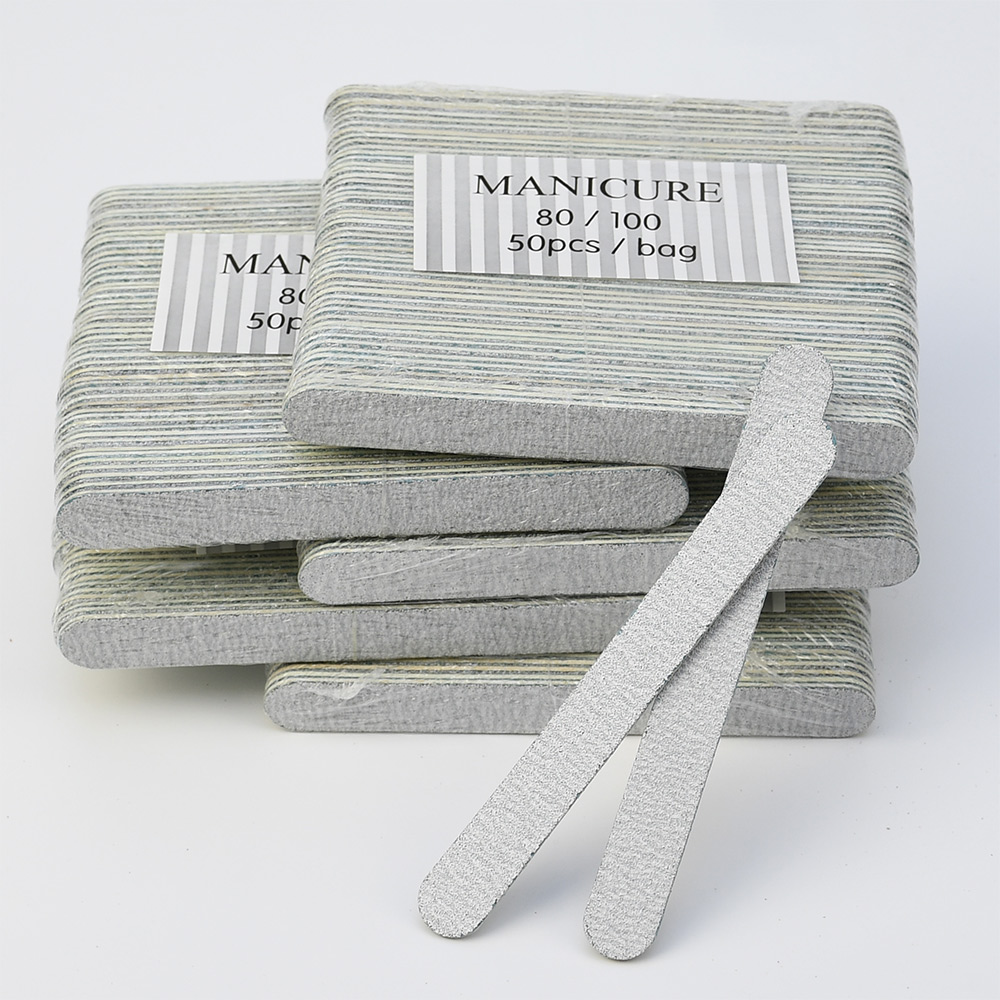
The shaping of the nail is a foundational step. Using a fine-grit nail file, typically 180 to 240 grit, is recommended for natural nails. The shape should be chosen based on the individual’s finger structure and lifestyle; squoval, a combination of square and oval, is universally flattering and durable. The golden rule of filing is to move in one direction only, from the outer edge toward the centre. A sawing motion creates microscopic tears in the nail layers, leading to peeling and splitting.
Cuticle Management: The Critical Step
The proximal nail fold, commonly referred to as the cuticle, serves as a protective seal against bacterial infection. Improper handling can compromise the nail matrix. The professional approach to cuticle care begins with softening the tissue, typically achieved by applying a cuticle remover cream or soaking fingertips in warm water for a few minutes.
Using a cuticle pusher with a rounded, flat edge, gently push back the softened skin from the nail plate. This motion should be performed in small, controlled strokes to avoid trauma to the living tissue. Only loose, detached dead skin should be carefully removed with a cuticle nipper. Under no circumstances should the living cuticle be cut or aggressively scraped, as this can lead to infection and irregular nail growth.
Surface Preparation: Creating the Ideal Canvas
The natural surface of the nail plate contains oils and ridges that can prevent polish from adhering properly. The objective of this phase is to create a smooth, even surface without compromising the integrity of the nail.
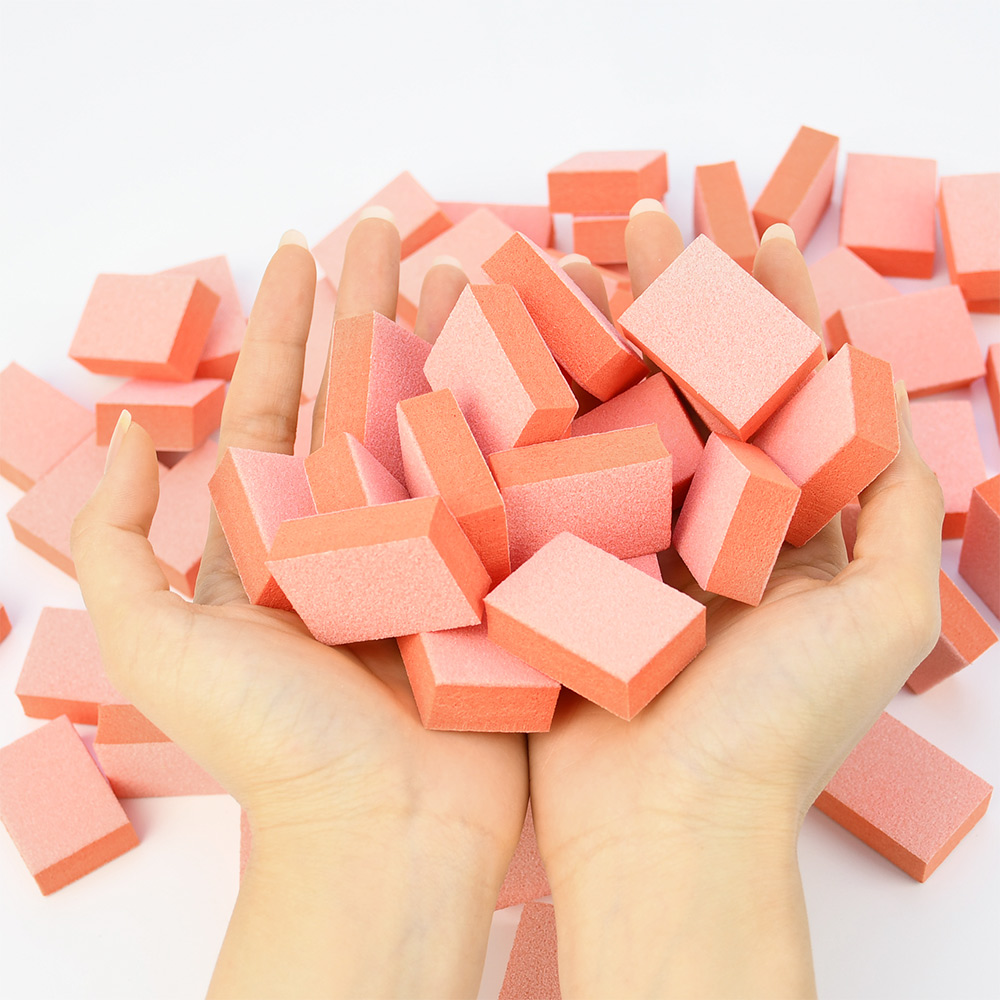
A buffer block is used to gently remove the natural shine from the nail plate. This is not a thinning process but a light abrasion to create a micro-texture that enhances adhesion. Following the buffing, it is mandatory to cleanse the nail plate with a dehydrator or 99% isopropyl alcohol on a lint-free wipe. This removes all traces of dust and oil, which are the primary causes of premature polish lifting.
The Application Sequence: A Systematic Approach
The application of polish is a multi-layered process, each layer serving a specific purpose. The use of a base coat is non-negotiable; it acts as a bonding agent between the nail and the colour polish, whilst also preventing the nail from staining.
The colour polish should be applied in two or three thin, even coats rather than one thick layer. Thick coats are prone to bubbling, uneven curing, and peeling. The technique involves placing a small amount of polish near the cuticle line and pushing it gently towards the edge, then pulling it in a smooth stroke to the free edge. This prevents flooding the cuticle area.
A crucial, often overlooked technique is “capping the free edge.” This involves running the brush along the tip of the nail with every layer—base, colour, and top coat. This seals the most vulnerable part of the manicure, preventing water and debris from seeping underneath and causing chipping.
The Finishing Phase: Sealing and Aftercare
The top coat is the final protective layer. It serves to seal the colour, provide a high-gloss finish, and significantly extend the wear time of the manicure. A quality top coat also protects the polish from scratches and dulling.
Following the application of the top coat, any minor imperfections along the cuticle line should be addressed. A small, angled brush dipped in nail polish remover is the most effective tool for correcting mistakes and achieving a pristine edge. This precision step is what separates a professional finish from an amateur one.
The final, and most underrated, step is the application of cuticle oil. This rehydrates the cuticles and the nail plate, replenishing moisture that was stripped during the preparation phase. Regular application of cuticle oil maintains the flexibility of the nail, reducing the likelihood of breakage.
Conclusion
Achieving a professional manicure is a systematic process that requires the correct tools and a disciplined technique. The application of polish is merely the final stage of a process that begins with thorough preparation. By respecting the nail’s structure and adhering to the correct procedures for filing, cuticle care, and product application, it is possible to achieve a durable, aesthetically pleasing result that rivals any salon service. The investment in quality supplies and the time required for proper execution is ultimately reflected in the longevity and health of the nails.
Read also: How to Make Your Nail Polish Last Longer: 8 Proven Tips for a Chip‑Free Manicure