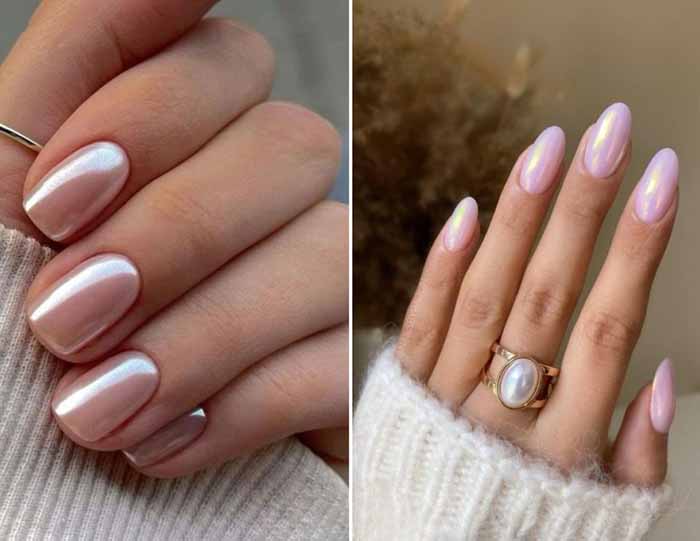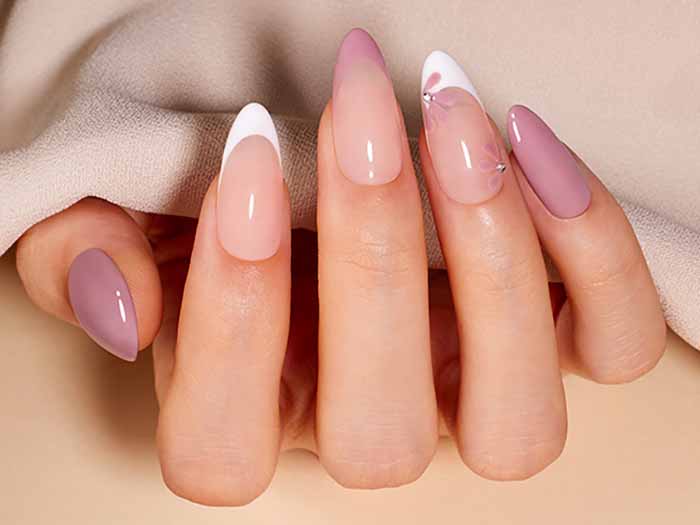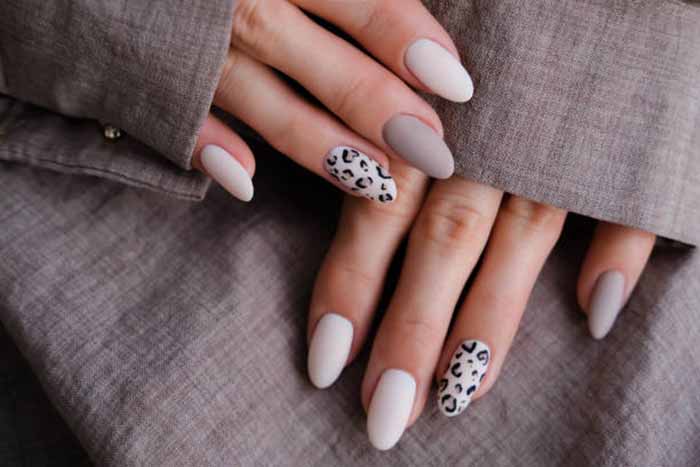
Oval nails are one of the most flattering and versatile shapes you can wear. They are soft, elegant, and timeless. Unlike a sharp square or a dramatic stiletto, an oval shape gently tapers to a rounded tip, creating a natural-looking curve that elongates the fingers and balances the hand.
For natural nails, achieving a perfect oval requires patience and the right technique. Natural nails are more delicate than enhancements. Aggressive filing can thin the plate, cause peeling, and lead to breakage. With a gentle approach and a few good habits, however, you can shape your natural nails into a beautiful oval that lasts.
How Nail Shape Affects the Look of Your Hands?
Nail shape is not just a cosmetic detail. It changes the visual proportions of your hand.
An oval shape works with the natural curve of the fingertip. It creates a continuous line from the cuticle to the tip, which makes the fingers appear longer and more slender. This is especially helpful for people with short fingers, wide nail beds, or small hands. The tapered sides draw the eye inward and upward, creating an elongating effect.
Oval nails also soften the appearance of the hand. Square nails can look harsh or boxy on some hands. Oval nails look graceful and feminine without being overly dramatic. They are appropriate for any occasion, from the office to a wedding.
For natural nails, oval is a practical choice. It is more durable than almond or stiletto because the tip is rounded, not pointed. It is less likely to catch on clothing or break at the corner. It is also easy to maintain with regular filing.
Tools You Will Need
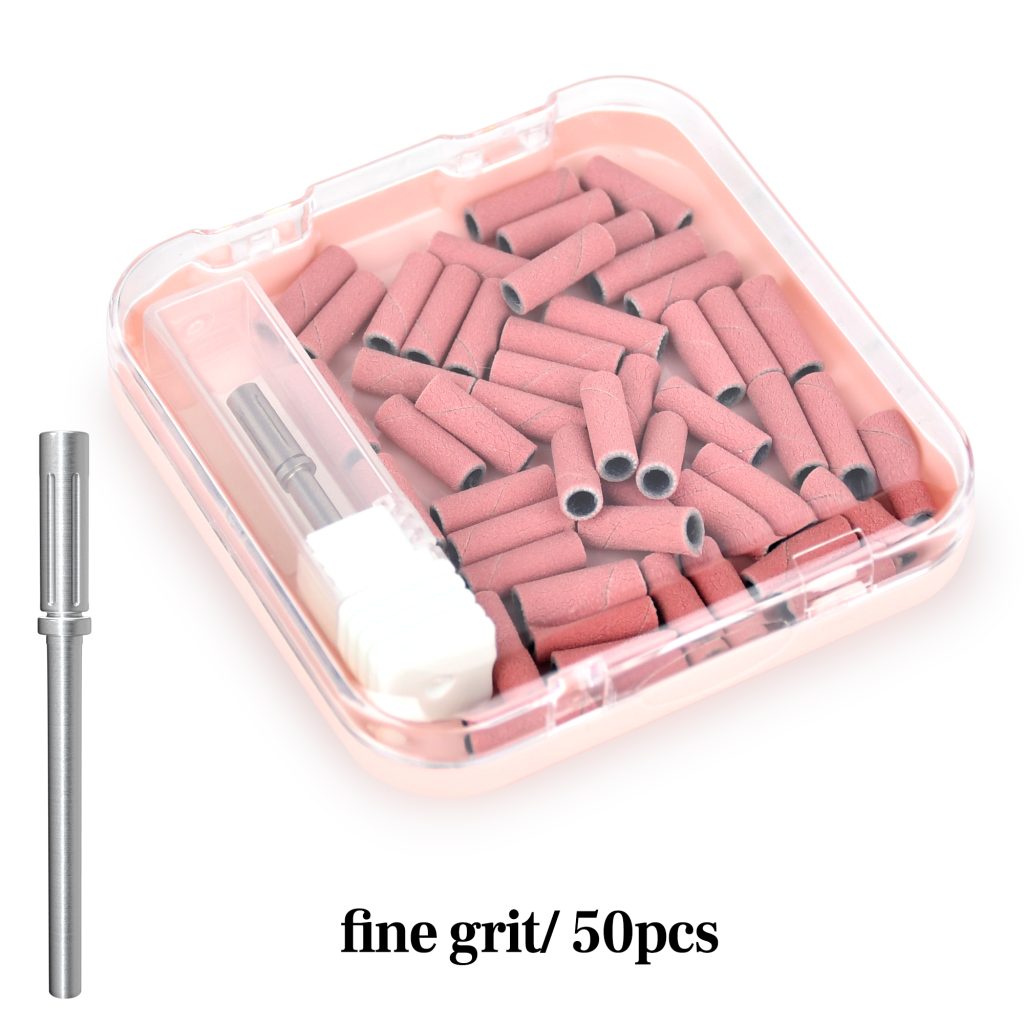
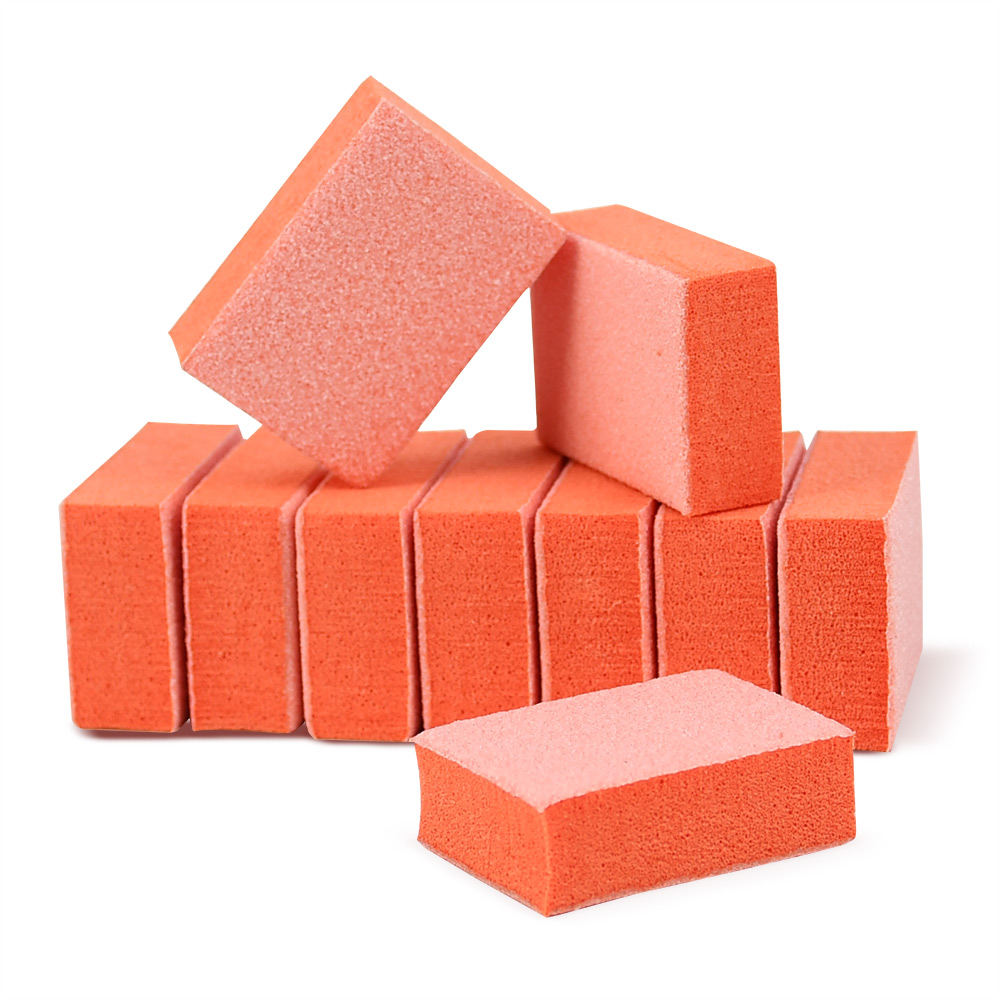
To shape natural nails into an oval, you need only a few tools. A fine-grit nail file, 180 to 240 grit, is essential. Glass files are gentle and last for years. A buffer block is useful for smoothing the surface. You will also need a cuticle pusher, a dust brush, and cuticle oil. If your nails are long, you may need nail clippers to shorten them before filing.
Avoid coarse files. They remove too much material and create micro-tears that lead to peeling. Avoid metal files for the same reason. A fine-grit file gives you control and protects the natural nail plate.
Step-by-Step Guide to Filing an Oval Shape
Step 1: Start with clean, dry nails. Remove any old polish. Wash your hands with soap and water and dry them thoroughly. Never file wet nails. Wet nails are soft and flexible. They tear instead of filing cleanly, which leads to peeling and splitting.
Step 2: Decide on length. Oval nails need a little length to look their best. If your nails are very short, the shape will look more like a round nail. That is fine, but for a true oval, let your nails grow a few millimeters past the fingertip. If they are very long, clip them to a manageable length before filing.
Step 3: Find the centre point. Look at the nail from above. Find the exact centre of the free edge. This is the point where the rounded tip will sit. Every file stroke should aim toward this point.
Step 4: File the sides. Hold the file at a slight angle against the sidewall. File from the sidewall toward the centre point in one smooth stroke. Do not saw back and forth. Lift the file off the nail after each stroke. Work on one side, then the other. Check your progress often. The sides should taper gently inward. Do not file too much from the sidewalls, or the nail will look pinched and weak.
Step 5: Round the tip. Once the sides are tapered, round the tip. Hold the file at a low angle and use short, gentle strokes to curve the tip from one side to the other. The tip should be a soft dome, not a point. A pointed tip is more like an almond shape and is more fragile.
Step 6: Check symmetry. Look at the nail from above, from the side, and from the palm side. Both sides should taper equally. The tip should be centred. If one side is straighter than the other, file lightly to correct it. Small adjustments are better than large ones.
Step 7: Smooth the edges. Use a fine-grit file to gently smooth any rough spots. Run your finger along the edge. If you feel a sharp point or a rough area, file it lightly. The edge should feel smooth and even.
Step 8: Buff the surface (optional). If you are not wearing polish, you can gently buff the nail surface to create a natural shine. Use a fine-grit nail buffer. Two or three passes are enough. Do not over-buff, as this thins the nail plate.
Step 9: Clean and hydrate. Remove all dust with a soft brush. Apply cuticle oil to the nails and surrounding skin. This keeps the cuticles soft and the nails flexible.
Tips for a Perfect Oval Shape
File in one direction only. Sawing back and forth creates micro-tears. These tears travel up the nail as it grows and cause peeling and splitting. Always file from the side toward the centre.
Use light pressure. Let the file do the work. Pressing hard removes too much material and creates heat. Gentle strokes give you more control.
Check symmetry often. Look at your nails from multiple angles. A slight difference in taper can make the shape look lopsided.
Keep the length consistent. All nails should be roughly the same length. If one nail is shorter, the oval shape will look unbalanced.
Work with your natural nail bed. The oval should follow the natural curve of your fingertip. Do not force a shape that does not suit your nail bed.
Do not over-file the sidewalls. Filing too aggressively at the sides weakens the nail structure and increases the risk of breakage.
Daily Care to Maintain an Oval Shape
Once your nails are shaped, a little daily care keeps them looking their best.
Apply cuticle oil daily. Hydrated nails are flexible and less likely to break. Jojoba oil is ideal because it penetrates the nail plate and mimics the skin’s natural oils. Massage a drop into each nail and cuticle morning and night.
Wear gloves for wet work. Dishwashing, cleaning, and gardening expose nails to water and harsh chemicals. Water causes the nail plate to swell and shrink, which weakens the nail and causes peeling. A simple pair of rubber gloves protects your nails.
File weekly. Nails grow continuously. A quick touch-up every week keeps the oval shape crisp and prevents snags. File gently and check symmetry.
Keep nails at a manageable length. Long oval nails are beautiful but more prone to breaking. If you are hard on your hands, keep them at a medium length.
Avoid using nails as tools. Opening cans, peeling stickers, and scraping labels puts pressure on the tip. This can cause chips and breaks. Use a proper tool instead.
Moisturise your hands. Dry skin around the nails can lead to hangnails and irritation. Use a rich hand cream after every wash.
Take breaks from polish. Constant coverage can dry out the nail plate. Give your nails a few days of bare, oiled rest every month.
Eat for nail health. Nails are made of keratin, a protein. Include lean meats, eggs, fish, beans, and legumes in your diet. Biotin, iron, and zinc also support strong nails.
Final Thoughts
An oval shape is one of the most elegant and flattering choices for natural nails. It elongates the fingers, softens the hand, and works with almost any lifestyle. The key is to file gently, in one direction, with a fine-grit file. Work slowly and check symmetry often. Once the shape is perfect, maintain it with weekly filing, daily cuticle oil, and protective habits. With a little patience, your natural nails will look polished, graceful, and beautifully oval.